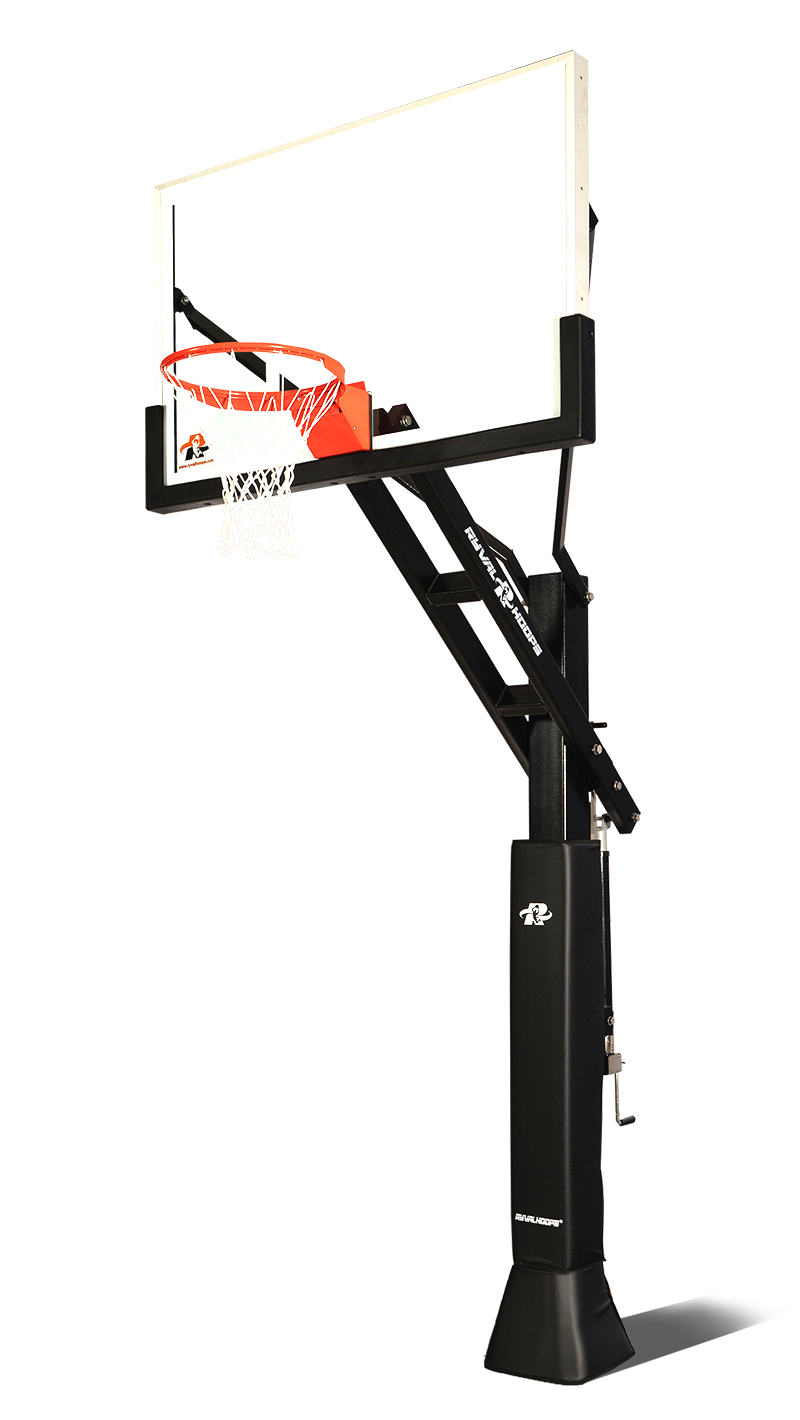
Top 5 Mistakes to Avoid When Installing Your Basketball Hoop
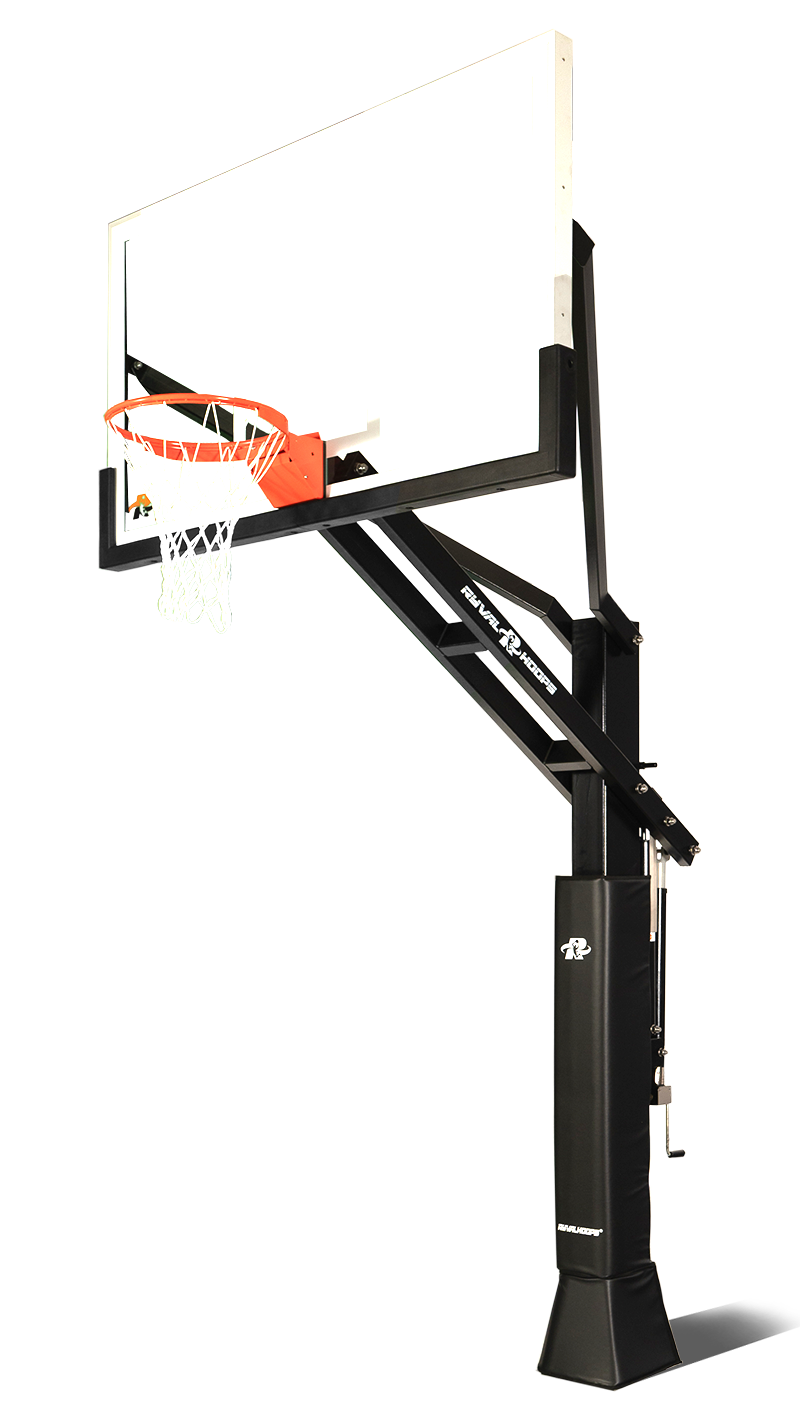
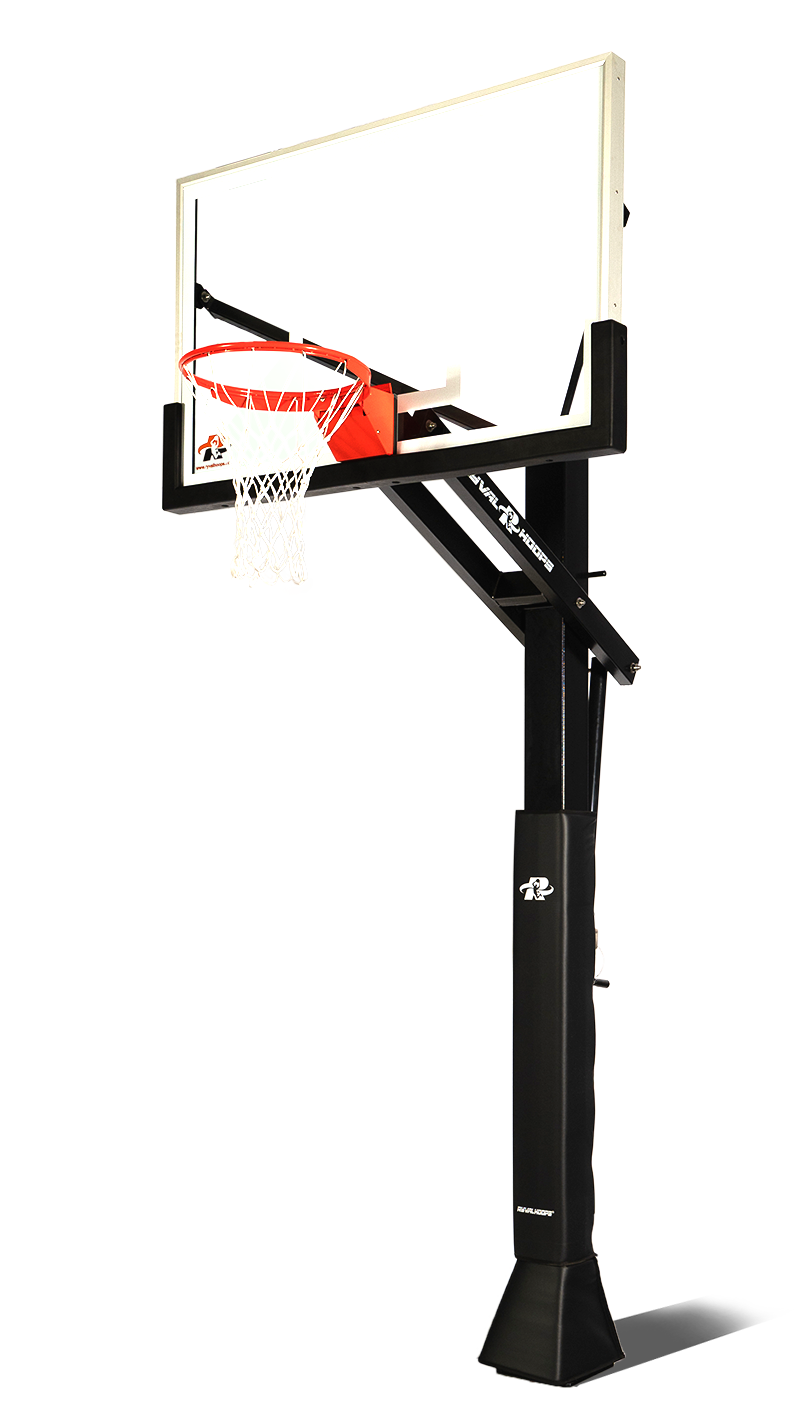
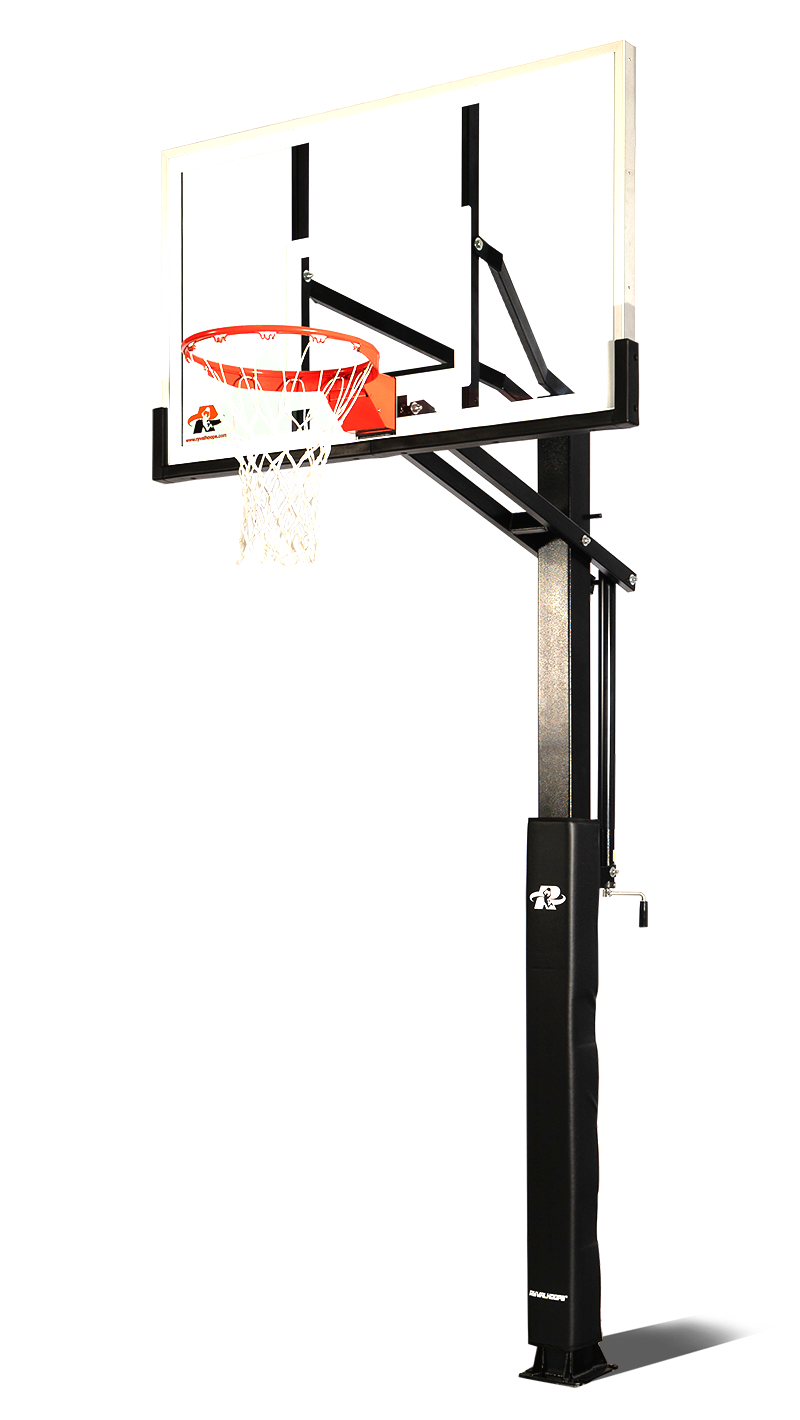
You’ve got the hoop. You’ve got the space. Now it’s time to bring your court to life. But before you dig in, slow down—because even the smallest mistakes can throw off your shot (literally). Installing a Ryval Hoop the right way means performance that lasts and play that feels pro from day one. Here’s how to keep your setup solid and your game strong.
1. Picking the wrong spot
Your hoop deserves prime real estate. Avoid sloped driveways, low trees, or spots too close to garages or fences. Choose a flat, open area with plenty of room to play—because when the game heats up, space matters.
2. Rushing the Concrete
We get it—you’re ready to play. But your foundation needs time to cure. Give your concrete a full 72 hours (or more if it’s cool outside) before mounting your hoop. A little patience now means rock-solid performance later.
3. Not Checking for Level
A few degrees off might not sound like much—until every shot bounces wrong. Make sure your anchor is perfectly level before the concrete sets. Precision now means every rebound, bank, and swish feels just right.
4. Forgetting the Rules
Don’t let local regulations bench your setup. Some neighborhoods or HOAs have restrictions on hoop placement or height. Double-check before you dig to keep the focus on the game, not the paperwork.
5. Going Solo
Ryval Hoops are built strong—really strong. So don’t try to muscle it alone. Grab a few extra hands or let a Ryval Pro handle the install. It’s the best way to protect your investment and get flawless, court-ready results.
Final Tip:
Do it once. Do it right. Avoid these five mistakes, and your Ryval Hoop will deliver the performance, stability, and arena-quality feel it was built for.
You Don't Have to Go It Alone!
Skip the guesswork. Ryval’s pros have you covered.
From expert installation to precision setup, your local dealer will make sure your hoop is dialed in, locked down, and ready to perform at its best—just like you.